

Software at CIS : User Guide to Multi-atlas segmentation, with examples
Overview
CIS has implemented a process for the segmentation of brain image grayscale data into image maps containing labels for each voxel in the volume which identify the structure the voxel belongs to. The process uses any number (10-30 is typical) of atlas images with their predetermined segmentations. An lddmm deformation is performed between each atlas grayscale image and the segmentation target, then that deformation is applied to the label map for the atlas to place the labels into the space of the segmentation target. Then an arbitration process is performed between all shifted atlas labels to determine the best guess for the label at each voxel in the segmentation subject.
Publication: MICCAI_2012_Workshop_Auto_Seg
Full Brain vs. Subcortical Structures = CIS Cluster "c" vs. ICM cluster
Two sets of scripts are available. The first set segments just 16 subcortical structures, and runs on the ICM cluster. The second set segments into the number of ROIs contained in the selected atlas set. Which segmentation scripts you get is determined by which atlas set you select. The list of available atlas sets can be found at ftp://ftp.mristudio.org/pub/atlas/AtlasSetsForAutoSeg.txt. Here are a few of the entries in the list:
-
/projects/miller/auto-segmentation/atlases/Mostofsky_Validation
/projects/miller/auto-segmentation/atlases/yantis4_res1_ch1_roi16
/cis/project/software/remote-processing/auto-segmentation/atlases/PPA_30_MNI_159ROI
/cis/project/software/remote-processing/auto-segmentation/atlases/PPA_30_pwm_206ROI
Atlas sets from the namespace "/projects/miller" are resident on the ICM cluster and contain labels for subcortical segmentation only. Selecting these atlas sets will invoke remote processing on the ICM cluster, and perform a subcortical segmentation. Atlas sets from the namespace "/cis/projects/" are resident on the CIS "c" cluster and contain full brain structure labels.
Subcortical Segmentation |
|
ICM Cluster |
|
Atlas Set: /projects/miller/auto-segmentation/atlases/MoriElder_34_Subcort_16ROI |
|
|

Full-Brain Segmentation |
CIS "c" Cluster |
Atlas Set: /cis/project/software/remote-processing/auto-segmentation/atlases/PPA_30_pwm_206ROI |
|

Using ftp, with examples
Multi-atlas can be invoked via ftp. The input file you transfer to the incoming ftp address will be routed to a cluster resource depending on the atlas set you specify.
To segment the Analyze Image file subject01_T1_ss.hdr:

- Create these files, with example contents as follows...
- identity.txt - your mristudio registered e-mail
youremail@yourdomain.com
- config.txt - configuration file. Specifies the parameters for the matching of the subject T1 with the atlas T1s.
  CascadingOption=A
  Steps=5
  alpha=0.02
  timesteps=10
  alpha=0.01
  timesteps=10
  alpha=0.005
  timesteps=10
  alpha=0.0025
  timesteps=10
  alpha=0.0001
  timesteps=10
  verbose=false
- Currently the only available Cascading Option is "A", Velocity Field Initialization.
- Steps - the number of cascading steps. The parameter file must contain an "alpha", " "timesteps" pair for each cascade step.
-
alpha - the alpha for a single cascading step of lddmm-matching: http://www.cis.jhu.edu/software/lddmm-volume/manual.php#Alpha
-
timesteps - the number of timesteps in the lddmm match for a cascading step: http://www.cis.jhu.edu/software/lddmm-volume/manual.php#Timesteps
- verbose - return intermediate processing outputs created by the auto-segmentation process
-
atlas_list.txt - contains the path of a set of atlases to segment against. A list of the available atlases can be found via anonymous ftp at at ftp://ftp.mristudio.org/pub/atlas/AtlasSetsForAutoSeg.txt
/projects/miller/auto-segmentation/atlases/yantis4_res1_ch1_roi16
- local_address.txt - contains the local name of the target.img and target.hdr files
  target.hdr subject035_T1_ss.hdr
  target.img subject035_T1_ss.img
- The segmentation target Analyze data (.img) and header (.hdr) files - The subject volume to be segmented
- identity.txt - your mristudio registered e-mail
- Rename the segmentation target Analyze files to target.img and target.hdr.
- Compress the following files into tmp.zip...
- identity.txt
- config.txt
- local_address.txt
- target.img
- target.hdr
- atlas_list.txt
$ zip tmp.zip atlas_list.txt config.txt identity.txt local_address.txt target.hdr target.img # linux zip command
- Calculate
the md5 hash of tmp.zip. You have changed the identity.txt to contain
your e-mail address, so your md5 sum will be DIFFERENT than the one
below...
$ md5sum tmp.zip
83175596b5df0e69f23b791e16febda0  tmp.zip
-
Rename tmp.zip to its md5 hash. This is your file for upload. Here is an example: 83175596b5df0e69f23b791e16febda0.zip
$ mv tmp.zip 83175596b5df0e69f23b791e16febda0.zip
- Login to the mristudio ftp server using your registered email for the password.
$ ftp ftp.mristudio.org
Connected to ftp.mristudio.org.
220 Welcome to MRI STudio FTP service. -- Turn off Passive Mode.
Name (ftp.mristudio.org:mbowers):  anonymous
331 Please specify the password.
Password:
230 Login successful.
Remote system type is UNIX.
Using binary mode to transfer files.
- Put your compressed folder on the queue
ftp>  cd /pub/INCOMING/auto-seg/process-queue
250 Directory successfully changed.
ftp> put 83175596b5df0e69f23b791e16febda0.zip
local: 83175596b5df0e69f23b791e16febda0.zip remote: 83175596b5df0e69f23b791e16febda0.zip
200 PORT command successful. Consider using PASV.
150 Ok to send data.
226 File receive OK.
3409094 bytes sent in 0.11 secs (31666.8 kB/s)
- You should receive an email with the subject "CIS (or ICM) auto-seg Processing: 83175596b5df0e69f23b791e16febda0" informing you that your segmentation is being processed.
- You should receive an email with the subject "auto-seg Process Complete: 83175596b5df0e69f23b791e16febda0" informing you that your segmentation is complete.
- Get your results from the mristudio ftp server.
$ ftp ftp.mristudio.org
Connected to ftp.mristudio.org.
220 Welcome to MRI STudio FTP service. -- Turn off Passive Mode.
Name (ftp.mristudio.org:mbowers): anonymous
331 Please specify the password.
Password:
230 Login successful.
Remote system type is UNIX.
Using binary mode to transfer files.
ftp> bin
200 Switching to Binary mode.
ftp> cd /pub/OUTGOING/auto-seg/output/83175596b5df0e69f23b791e16febda0/
250 Directory successfully changed.
ftp> get Result.zip
local: Result.zip remote: Result.zip
200 PORT command successful. Consider using PASV.
150 Opening BINARY mode data connection for Result.zip (1782533 bytes).
226 File send OK.
1782533 bytes received in 0.09 secs (19942.4 kB/s)
ftp> exit
221 Goodbye.
Here's the result file from our example: Result.zip
- Unpack your results from the zip file.
$ unzip Result.zip
Archive:  Result.zip
  inflating: atlas_list.txt
  inflating: config.txt
 extracting: identity.txt
  inflating: local_address.txt
   creating: output/
 extracting: priority.txt
  inflating: target.hdr
  inflating: target.img
  inflating: output/segmented_result.img
  inflating: output/segmented_result.hdr
The segmented Analyze label map is in output/segmented_result.*.
Using CAWorks for multi-atlas segmentation
- Running multi-atlas segmentation, given subject (target) subject01_T1_ss.hdr
- Create a work directory, workdir
- Create a result directory, resultdir
- In the Auto Segmentation tab of the CAWorks Panel...
- In the "Remote Auto Segmentation Defaults" section...
- Under "Email Address", enter your email address used to register at MRIStudio
- Set the "Work directory" to workdir and result directory to resultdir
- Under "Choose an atlas set", select atlas set /projects/miller/auto-segmentation/atlases/yantis4_res1_ch1_roi16
- In the "Remote Auto Segmentation Advanced Defaults"
- Under "Cascading Type" select Velocity field initialization
- Under "Time Steps" select 5
- Deselect "Set Verbose Output Mode"
- Under "Auto Segmentation"
- Set "Target Volume File" to subject035_T1_ss.img
- Click "Send Auto Segmentation Job".
- As with the ftp example, you will receive an e-mail notification when the job is sent to the appropriate cluster and queued for processing.
- You
will receive another e-mail when your processing job has completed.
That email will contain the md5 sum of the job you submitted. Put this
md5 sum in the "Sent MD5 Sum" text box, and click "Receive Auto
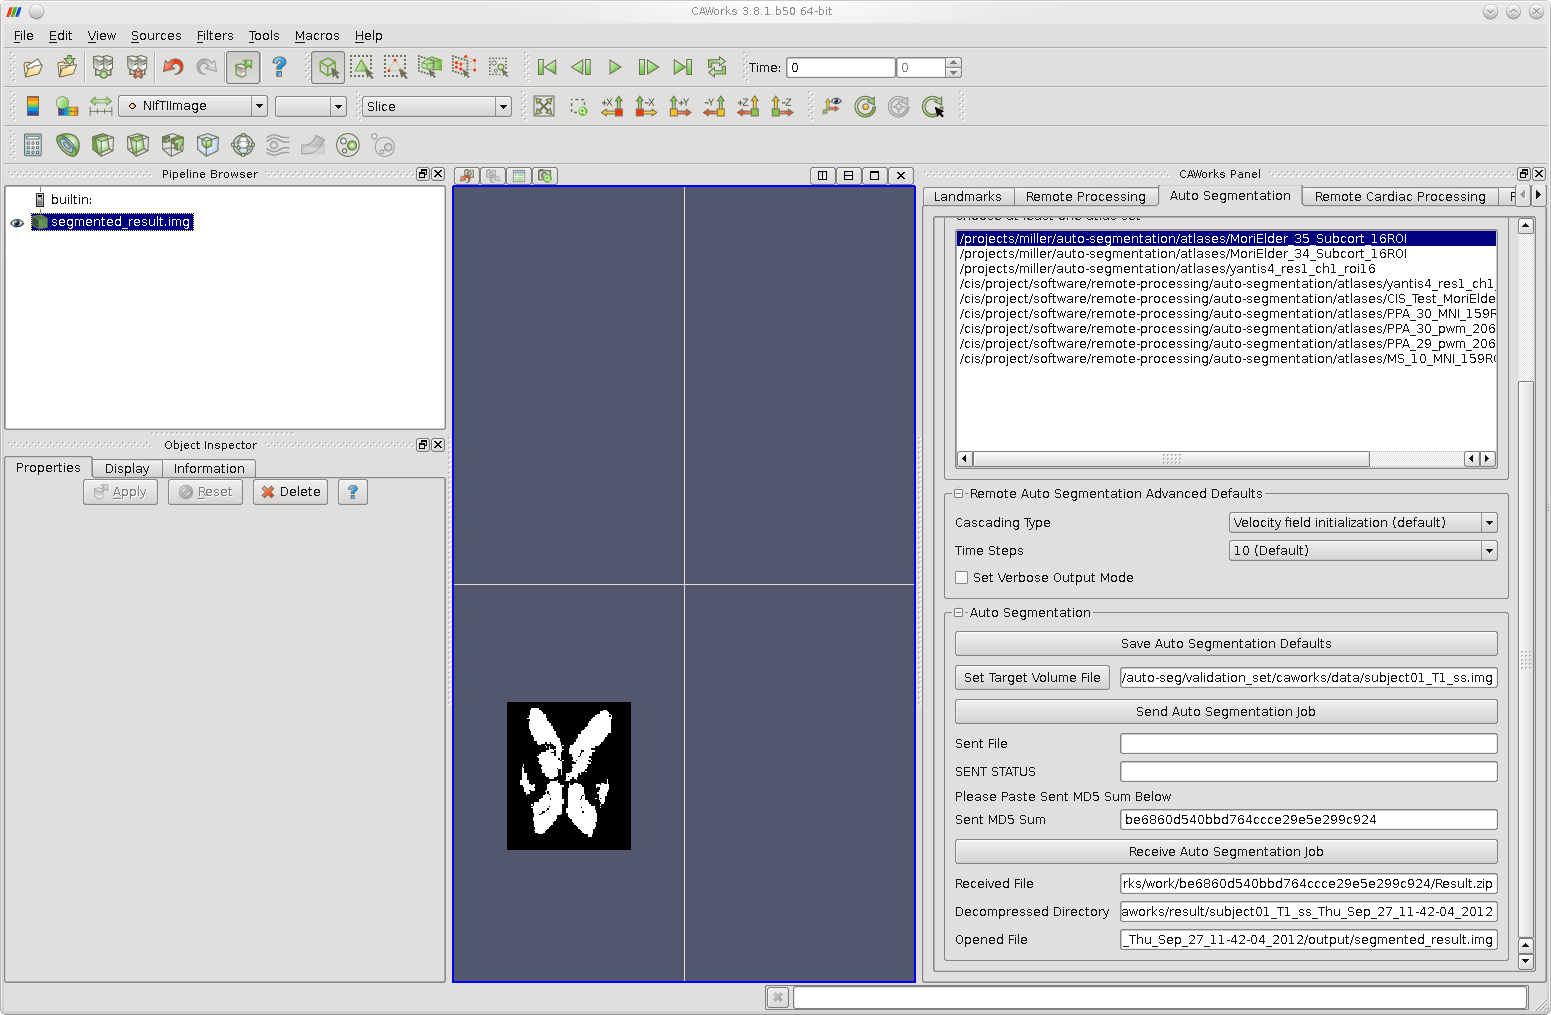
Segmentation Job". The auto-segmentation result will be stored in your
results directory and displayed in CAWorks' 3D view as shown below.
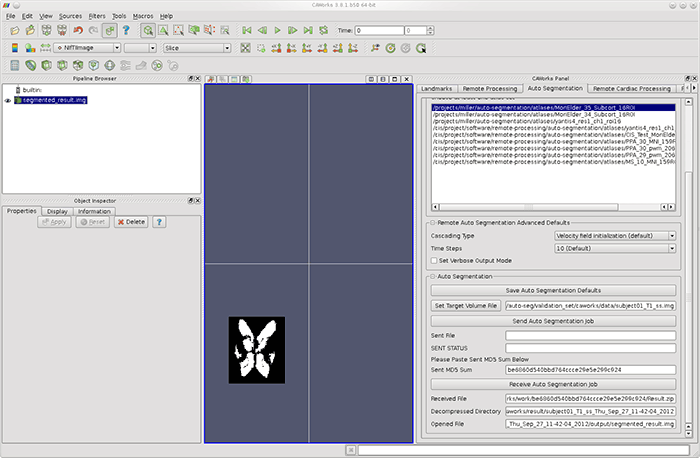
(click to view full size)
Last Modified: Wednesday, 04th December, 2013 @ 11:33am